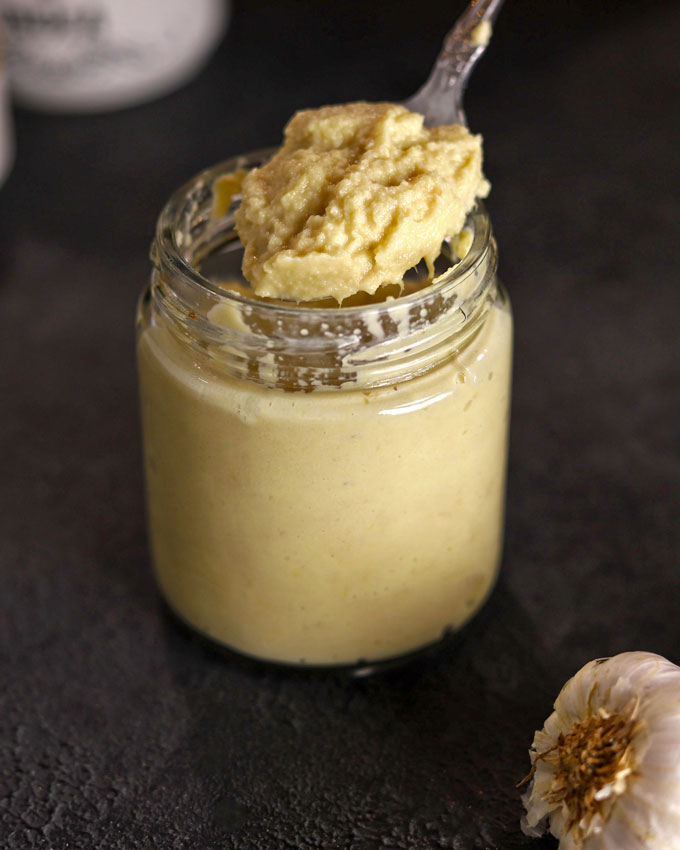
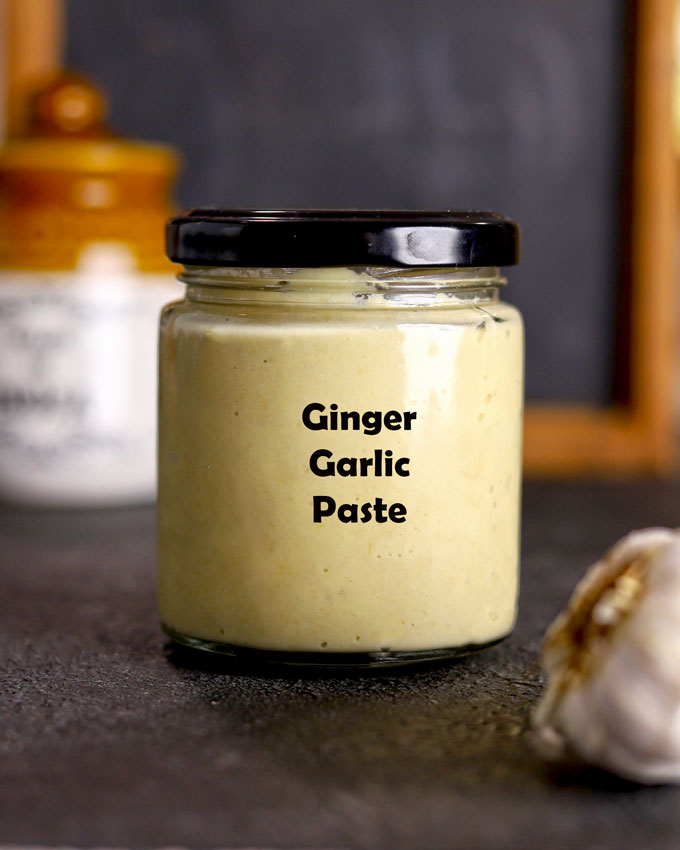
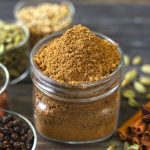
Ginger Garlic Paste is a staple ingredient in many Indian recipes. Learn how to make adrak lehsun ka paste at home with this failproof recipe. Be sure to watch the video!
Estimated reading time: 4 minutes
Jump to:
If you love cooking Indian dishes, a ginger and garlic paste bottle is a must-have spice blend in your refrigerator. Like garam masala, spice box, and ghee, ginger garlic paste is also a quintessential part of the Indian pantry.
Ginger is known as ‘adrak’ and garlic as ‘lehsun’ in Hindi. Hence, in India, this paste is also known as adrak lehsun ka paste. It is a gluten-free, vegan wet paste of ginger and garlic.
Homemade vs Readymade
Nowadays, packaged ginger garlic paste is readily available in supermarkets worldwide. But I still prefer making it at home because:
- there are no harmful preservatives, chemicals, or artificial tastemakers
- one can make it in the desired quantity and store it for days to months
- the taste is natural and adds a great depth of flavour to the dishes
- making it at home is a fuss-free, no-cooking process
- it is full of nutrients and medicinal benefits
- meal prep, budget, and freezer-friendly
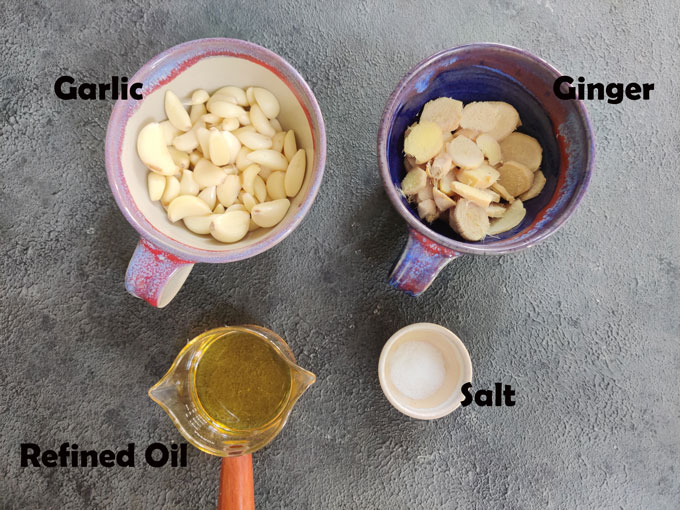
Ingredients You’ll Need
- Ginger root without its skin and roughly chopped. Look for firm, mold-free ginger root. Wash and get rid of all the dirt/mud before peeling.
- Garlic: I prefer to buy peeled garlic from the supermarket. It saves me a lot of time and effort. You can use a head of garlic and peel the cloves at home.
- Salt: I add half a teaspoon of table salt to the paste. It acts as a preservative.
- Oil helps bring the paste together and extends its shelf life. Any light and flavourless oil works well. Do not use ghee, mustard oil, or intensely flavoured oil.
Equipment: Wet Grinder or blender with a strong blade
Watch Ginger Garlic Paste Video
My Tried and True Tips
- The perfect ratio of ginger to garlic is 1:1 (equal amount of ginger and garlic).
- Wash ginger roots well with water to remove dirt and mud. Pat them dry using a clean kitchen towel before scraping/peeling them.
- AVOID USING WATER to grind the paste. It reduces the blend’s shelf life. If you want to use it within the next few days or freeze it, adding 1 – 2 tablespoons of water is OK. Otherwise, avoid using water.
- DO NOT ADD TOO MUCH SALT OR OIL. The ginger and garlic paste should not reek of salt and oil. The key flavour of the paste should be natural ginger and garlic.
- DO NOT LEAVE IT at room temperature for more than 1 hour, especially in a tropical climate. Always store it in the refrigerator or freeze it.
Storage Suggestion
For immediate use (within a week or fortnight), transfer ginger garlic paste to an airtight container and store it in the refrigerator. Always use a clean, dry spoon to scoop out the quantity needed.
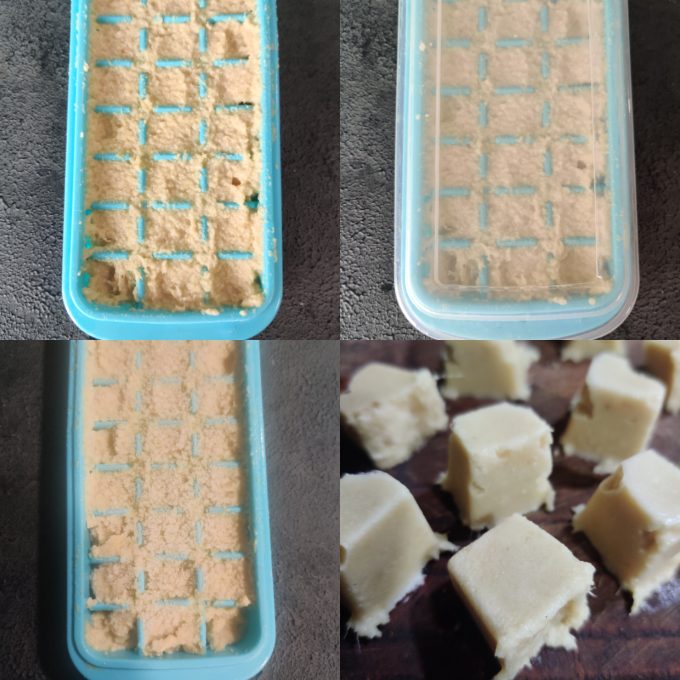
For freezing, transfer the paste to silicone ice cube trays and cover them with a lid or cling foil. Keep the tray in the freezer. Once frozen, you can store the paste cubes in ziplock bags or containers.
You can store ginger garlic paste for a week to months at your convenience.
More Indian Kitchen Staples
- Garam Masala Powder
- 4 Indian Curry Paste
- Homemade Butter
- Vegetable Stock
- Indian Spice Box
- Pickle Masala
- Chai Masala
follow us on Youtube and Instagram for video recipes.
Ginger Garlic Paste Recipe
- Blender
Ingredients
- 100 gram ginger, peeled and diced
- 100 gram garlic cloves
- 4 tablespoon refined oil (see notes)
- 1 teaspoon Salt
Instructions
- Scrape the skin of the ginger using a spoon or peeler. Rinse it with water to get rid of dirt and mud. Pat dry with a clean kitchen towel. Roughly dice it.
- Add diced ginger and two tablespoons of oil to the blender. Grind to a smooth paste. This takes 1 minute because to make a smooth paste you have to stir and scrape the ginger at regular intervals.
- Once ginger turns into a paste, add garlic, salt, and the remaining oil. Grind all ogether to a smooth cosnistency.
- Ginger Garlic paste is ready. Transfer it to a clean jar and store it in the refrigerator. Or you can freeze it for months.
Recipe Notes:
- You can use any flavorless, light oil for making ginger garlic paste – groundnut oil, rice bran oil, or olive oil.
Leave Your Rating & Comment