Medu Vada is a deep-fried, vegetarian snack from South India. Follow my tips to make perfectly crispy medu vada each time without fail. Be sure to watch the video!
What is ‘Medu Vada’?
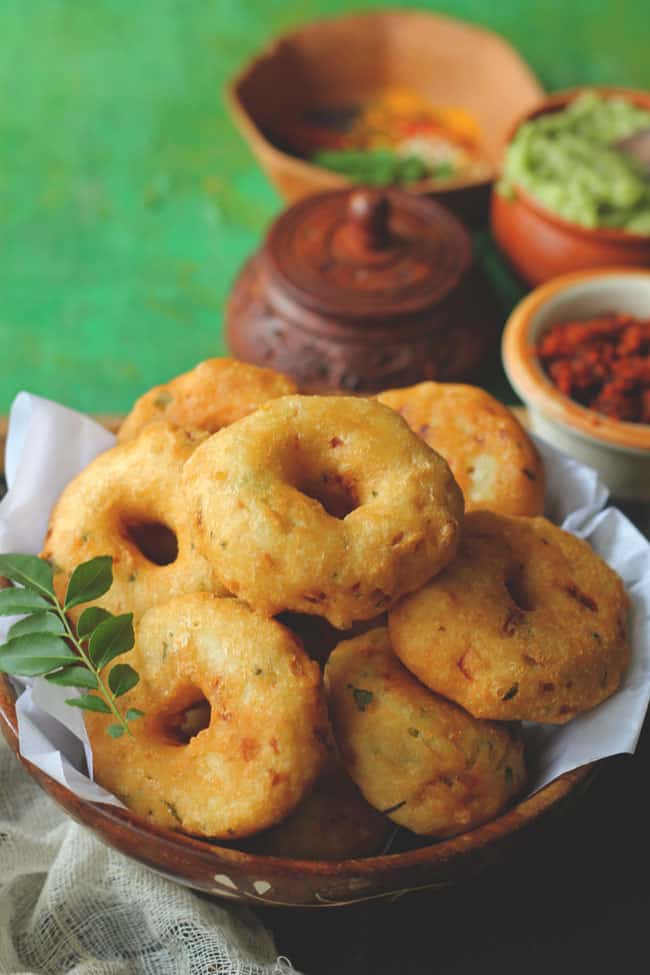
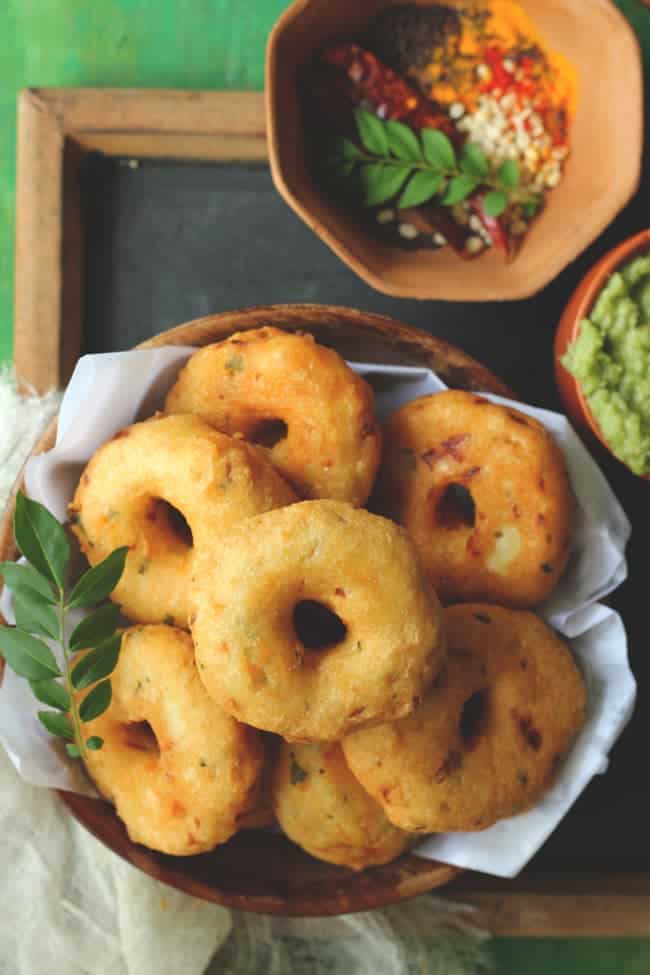
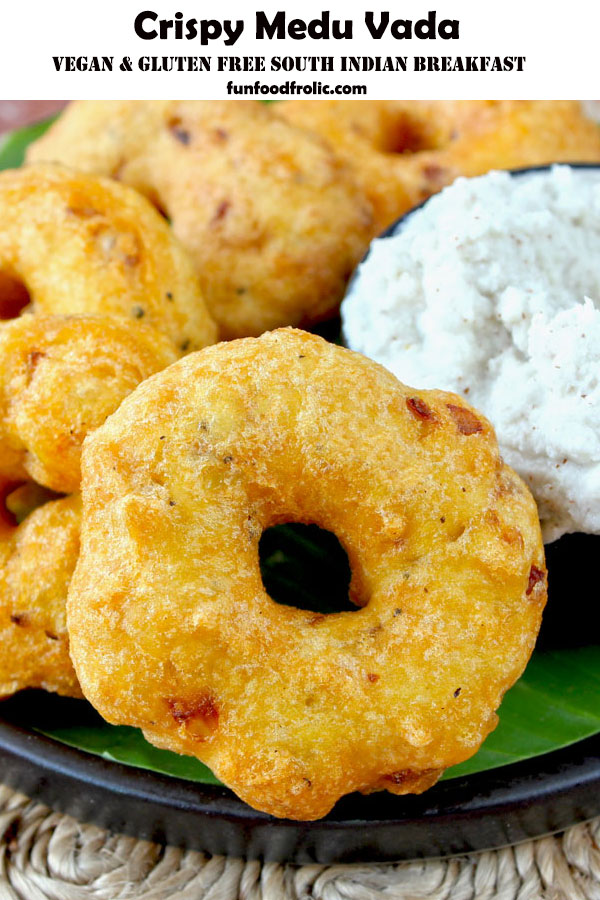
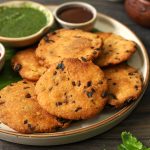
Medu Vada is a spicy and savoury doughnut shape like fritter made with urad dal, onion, spices, and seasoning.
The word ‘medu’ in Tamil means soft, and the ‘vada’ is the word for deep-fried fritter. Hence, it is called a soft deep-fried fritter (medu vada).
In South India and Sri Lanka, medu vada, along with idli, dosa, sambar, and chutney, is the most popular vegetarian breakfast dish.
Types of Vada
Probably you might be confused between medu vada, maddur vada, and dal vada. All of these are a different variety of vada (fritters).
The distinguishing characteristic of the medu vada is its doughnut-like shape with a hole in the centre.
The Kumaoni Vada (Bada) is similar to the medu vada. The only difference between the two is – the former is prepared with split black urad dal (chilka urad) while the South Indian vada is prepared with skinned urad dal.
These all are one or the other form of vegetarian Indian fritters, equally delicious, crispy, and all-time favourite teatime snacks.
My Tried & True Tips
There is no shortcut to making an authentic medhu vadai. It has to be done from scratch. There are a few Indian recipes that require the love of labour, and this is surely one of those.
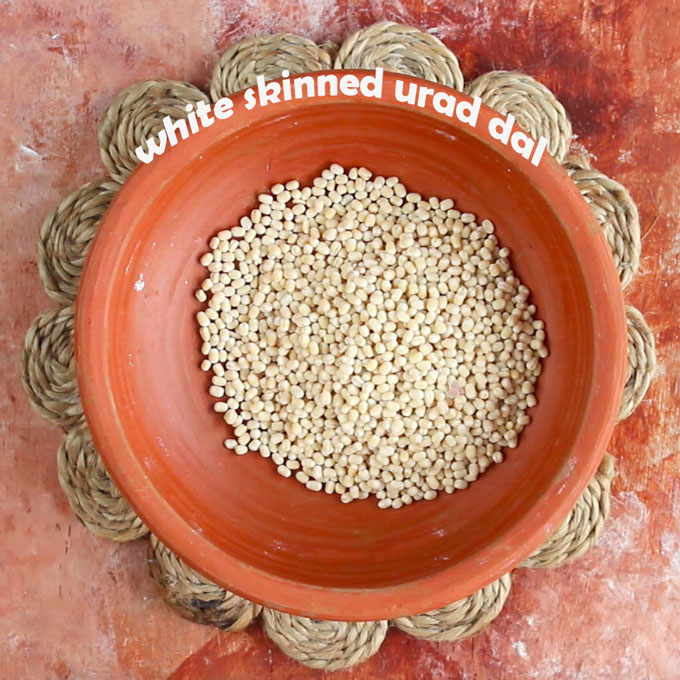
Soaking the dal: It is essential to soak the dal for vada for at least 5 – 6 hours before grinding. The vada batter is never prepared with unsoaked lentils.
Grinding the dal: Use very little water while grinding the dal (by little I mean not more than 2 – 4 tablespoons). If the batter seems thick, add a tablespoon of water at a time. It is a time and labour-intensive process but worth it.
Whisk the batter: After grinding without adding salt, whisk the batter for 10 minutes or till it is light, airy, and fluffy. I use my electric hand mixer for this purpose.
It does the job excellently. The perfectly fluffy dal batter results in a delicious restaurant-style vada.
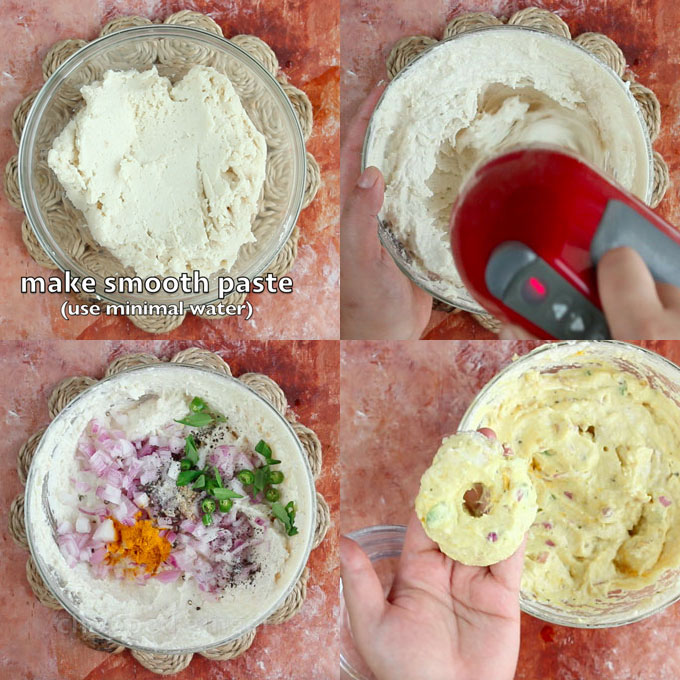
Shaping Vada: It requires a bit of practice. Always wet your fingers with water before shaping the vada, or you can use a banana leaf also for the purpose.
Frying Vada: Before deep-frying the vada, ensure the oil is hot enough. Perform a test by dropping a small drop of batter into the oil. If it quickly floats to the surface, oil is ready. But if it sinks or gets stuck to the pan, wait for more time.
I prefer frying the vada at medium-high heat so that it gets perfectly cooked from the inside and crisp from the outside.
Let the vada cook and turn golden from one side, then flip, and cook from the other side.
Serving Suggestion
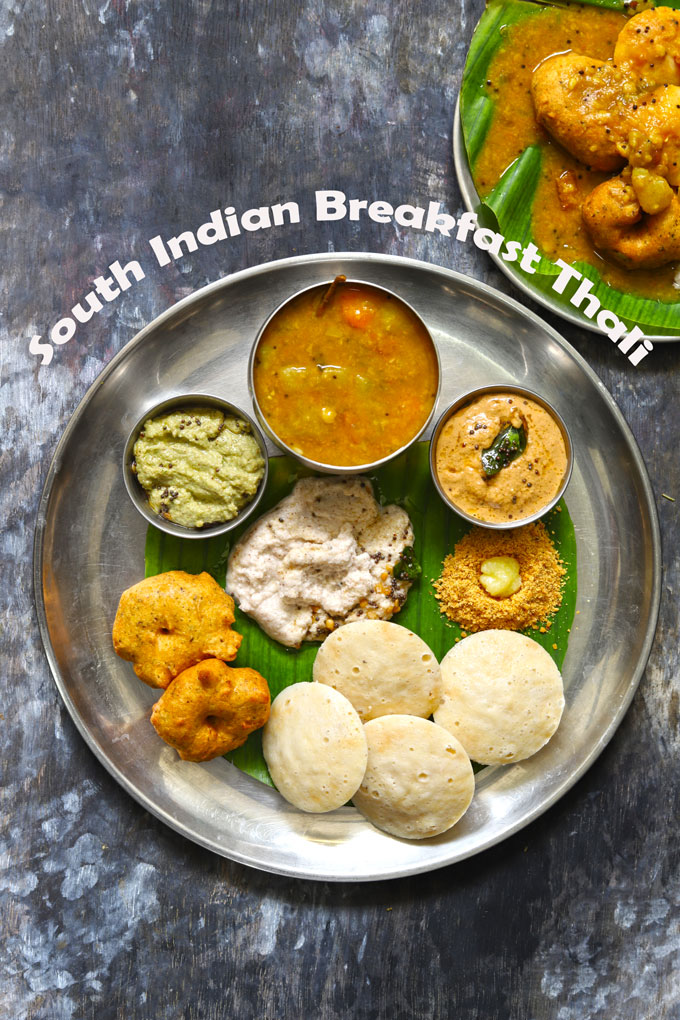
For an authentic South Indian breakfast at home, prepare – Rava Idli, Medu Vada, Sambar, Coconut Chutney, and filter coffee. It will be a blissful Sunday morning breakfast.
While most people choose to have vada in the morning, many love to binge on it as a teatime snack with a cup of tea or coffee.
Traditionally, medu vada sambar is the most popular meal combination; however, you can also savour it with a dash of slightly sweet, whipped curd as dahi vada or only with coconut chutney.
Watch Medu Vada Video
FAQs Related To Medu Vada
Yes, you can. It is a meal-prep-friendly batter. Transfer the dal batter to a clean, dry, airtight container. Store it in the refrigerator for 2 – 3 days. Before making the vada, bring the batter from the refrigerator and let it come to room temperature. Lightly aerate the batter by whisking for 1 – 2 minutes once again, and fry the vada.
You can fix a watery vada batter by adding rice flour or a fine variety of semolina (rava/sooji). Once you have added any of these ingredients to the dal batter, whisk to combine well and let the batter sit for 10 minutes for rice flour or rava to absorb the excess liquid.
If the vada absorbs too much oil while deep-frying, there could be two reasons for the same. One, the oil is not hot enough. Second, too much water is added while grinding the batter. Finally, after you’ve fried the vada, drain them on an oil-absorbing paper towel.
Yes, you can. But it will not be traditional style medu vada. The taste and texture of the vada will not change.
I prefer reheating the vada in an air fryer or Instant Pot Crispy Lid. Arrange them on the basket of the fryer. Heat each side for 5 minutes at 180 degrees Celsius. Reheating in a microwave makes vada oily and soggy.
The trick is to whisk the dal batter to make it light and airy. If the dal batter is not whisked properly, the medu vada will turn out hard and not soft.
Any neutral-tasting oil with a high smoke point will work well for frying vadas. You could use refined sunflower, groundnut, vegetable, or peanut oil.
More South Indian Recipes
Subscribe to our weekly newsletter or follow us on Youtube for video recipes.
If you try this recipe and love it, please leave a comment and a rating. This helps us grow and reach other food lovers like you.
Medu Vada Recipe
- Blender
- Deep Frying Pan
Ingredients
- 1 Cup skinned urad dal (dhuli urad)
- ½ Cup finely chopped onion
- 1 teaspoon chopped ginger
- 5 – 6 curry leaves
- 1 roughly chopped green chilli
- 1 teaspoon black peppercorns (sabut kalimirch), roughly crushed
- ¼ teaspoon asafoetida (hing)
- ¼ teaspoon turmeric (optional)
- Salt to taste
- Oil for deep-frying
Instructions
Prepare Batter:
- Rinse and soak the urad dal in water for 4 – 5 hours or overnight. Next day, drain the water from the urad dal and let it sit in the strainer for 5 minutes to drain the excess water. Now grind the dal in the mixer grinder.
- To get the smooth paste you need to stir the dal a few times while grinding. Turn off the mixer, stir and then grind. Repeat the process till you get thick, smooth dal paste. Use 1 tablespoon of water at a time to grind the dal. Do not add more than 2 – 4 tablespoons of water. Transfer the dal paste to a clean, large bowl.
- You can whisk the dal using an electric hand blender or manually. Continuous whisking of 8 – 10 minutes is good enough to incorporate air in the dal. Add 2 – 3 tablespoons of water if the batter is too thick and then whisk.
Season Batter:
- Add salt, chopped green chilli, onion, ginger, curry leaves, black pepper and spices in the dal. Mix nicely.
Prepare Vada:
- Heat oil in a wide deep frying pan.
- To shape the vada, keep water in a small bowl next to the dal paste. Soak the fingers of both the hands in water and pinch a lemon size portion of dal paste. Hold it with your one hand fingers and flatten it using the other hand wet fingers. Make a hole in the center of the flattened vada using your finger.
- Gently slip it on to the pan of hot oil to deep fry. For safety reasons, it is best to slide the shaped vada from the sides of the pan.
- Deep fry the vada over medium-high heat till they turn golden brown, crisp from both sides.
- Transfer to a plate lined with a kitchen towel. Serve Medu Vada warm with coconut chutney and sambar.
Recipe Notes:
- Use only white skinless urad dal for making the vada batter.
- It is an essential step to soak the dal for vada at least 5 – 6 hours before grinding.
- Use very little water while grinding the dal (by little I mean not more than 2 – 4 tablespoons). If the batter seems thick add a tablespoon of water at a time.
- After grinding without adding salt whisk the batter for 10 minutes or till it is light, airy, and fluffy.
- Always wet your fingers with water before shaping the vada, or you can use banana leaf also for the purpose.
- I prefer frying the vada at medium-high heat so that it gets perfectly cooked from the inside and crisp from the outside.
- Store the leftover vada batter in the refrigerator for 2 – 3 days.
Nutrition



Hema says
Very nicely explained.
Nasreen says
This looks delicious!! …want to try this out! Can we use urad dal powder in case the dough become watery?
Hina Gujral says
Yes, you can surely add a tablespoon of urad dal powder to get the right consistency.
Hema says
Very nicely you explained step wise. Will try!
Shruthi says
Hey, we tried this today and it was absolutely fantastic! We had it dip style with sambar.
Hina Gujral says
Thank you for such sweet feedback!
Geeta Dasila says
I have made medu vadas 3 times using your recipe and I always get praises for them.
All these praises are for you ☺️☺️
Lots of wishes from a fellow kumaoni????
Hina Gujral says
You made my day with your feedback. They are very similar to Kumaoni Bada. Hence, easy for us to make. Love, Hina
Jay says
Did anyone try to bake it or use AirFryer?
Hina Gujral says
I tried it…but you cannot bake or air-fry vada as they are made with a wet batter that requires high heat, a rigorous cooking technique.