
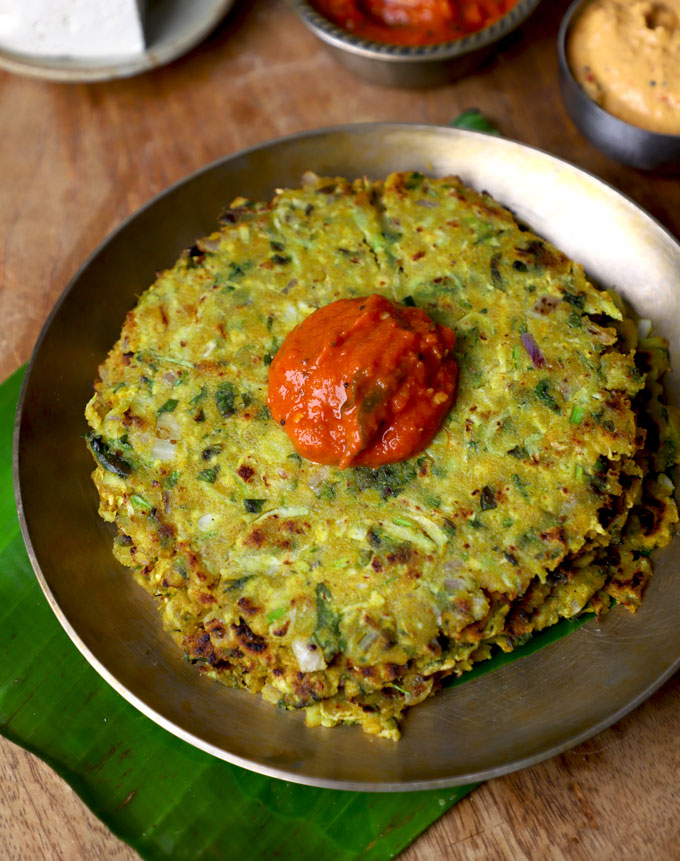
Finding a breakfast that hits the criteria of being healthy, quick, and tasty can feel like a chore. Not anymore! Try this jowar thalipeeth recipe.
Jump to:
By using Jowar (Sorghum) flour as base, sneaking in the hydration of bottle gourd (lauki) and the superfood punch of moringa (drumstick) leaves, this thalipeeth recipe is about to become your new morning staple.
This Maharashrian style jowar Thalipeeth is – gluten-free, weight-loss-friendly, diabetic-safe, and takes under 30 minutes to whip up!
Why This Trio is a Nutritional Goldmine
- Jowar (Sorghum Flour): A complex carb that is entirely gluten-free. It’s packed with dietary fiber, meaning it digests slowly, keeps you full for hours, and prevents sudden blood sugar spikes.
- Bottle Gourd (Lauki/Doodhi): Composed of nearly 96% water, bottle gourd adds incredible moisture to the chilla (keeping it soft without needing tons of oil) while aiding digestion and cooling the body.
- Moringa Leaves (Sahjan/Drumstick Leaves): Literally a superfood. Moringa is loaded with iron, calcium, and vitamin C. Adding fresh moringa leaves is an effortless way to sneak leafy greens into a meal.
Ingredients You’ll Need
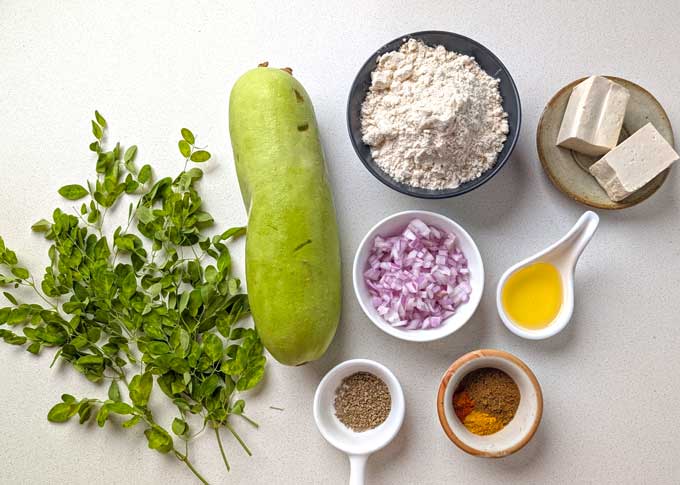
- Sorghum Flour (Jowar Atta), mainly used to make famous Indian flatbread Bhakri or the whole grains are used to make upma.
- Bottle Gourd (lauki), grated. Subsitute it with zucchini, carrot, cucumber, or yellow squash.
- Fresh Moringa Leaves, thoroughly washed and roughly chopped. If not available, use spinach or fresh fenugreek leaves (methi).
- Seasoning: Cumin Powder, Asafoetida, Salt, Carom Seeds, Chilli Powder (optional), Turmeric powder.
- Ghee or oil to cook the jowar chilla.
- Onion, and Fresh Coriander Leaves.
How To Make Thalipeeth
1. Prep the Vegetables
- Grate the bottle gourd using the fine side of your grater. Do not squeeze out the water from the grated lauki—that water is packed with nutrients and will help form our batter!
- Pluck the moringa leaves from their stems, wash them well, and chop them coarsely.
2. Mix the Dough
- In a large mixing bowl, combine the jowar flour, carom seeds, cumin powder, turmeric, hing, and salt.
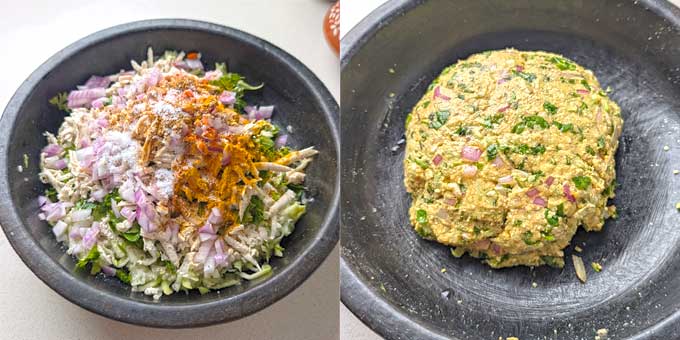
- Fold in the grated bottle gourd, chopped moringa leaves, onions, and coriander. Mix well. The moisture from the bottle gourd will start to wet the flour. Use your hands to mix everything well, squeezing the onions and carrots slightly so they release their natural moisture. Do not add water. The dough should be moist, easy to spread, just like a Akki Roti, but not sticky or watery.
Pro-Tip: Let the batter rest for 5 to 10 minutes. Jowar absorbs water as it sits.
3. Shape the Chilla
Because jowar flour is gluten-free, you cannot roll this dough with a rolling pin.
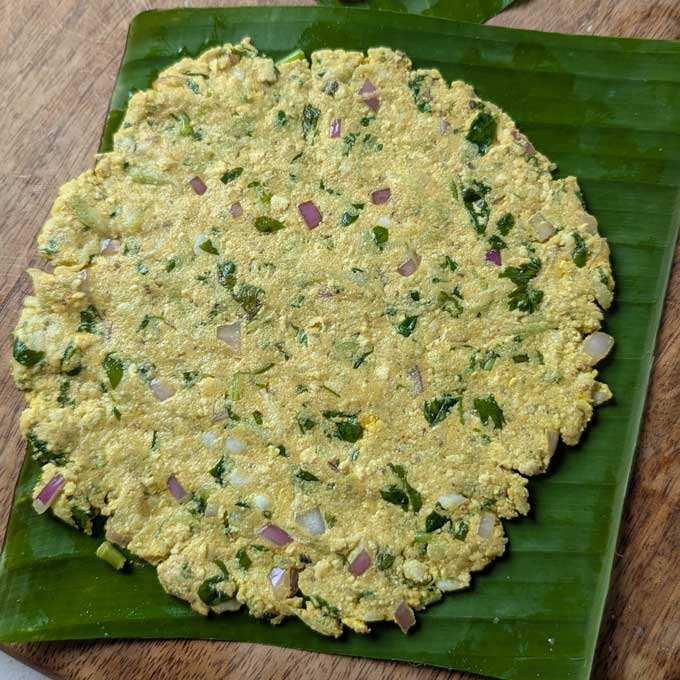
- Grease a piece of parchment paper, butter paper, or a clean banana leaf with oil. Pat the dough ball into a thin circle on the paper.
- Heat your tawa on medium-high. Carefully lift the paper/leaf, flip it over onto the hot tawa (dough side down), and gently peel the paper away. Cover and cook both sides with oil or ghee until crisp and golden.
- Gently flip the chilla using a spatula. Press down lightly and cook the other side for another 1-2 minutes until beautifully golden spots appear.
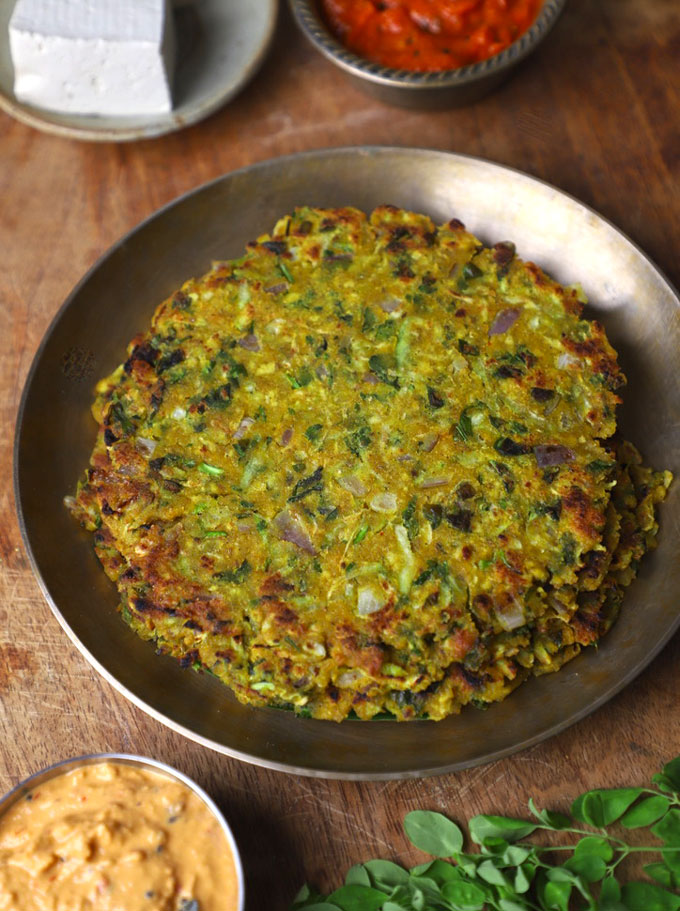
Hina’s Pro Tips
| Do’s | Don’ts |
| Do use a lid while cooking the first side. The steam helps cook the raw jowar and veggies evenly. | Don’t try to flip the thalipeeth too early. Because it lacks gluten, it will tear if the bottom isn’t fully cooked. |
| Do swap fresh moringa leaves for 1 teaspoon of organic moringa powder if you can’t find fresh leaves. | Don’t make the dough too watery, or the thalipeeth will turn out mushy instead of crisp. |
Watch Thalipeeth Video
Serving Suggestion
These jowar thalipeeth are best served piping hot straight off the tawa. Pair them with:
- A spicy, tangy mint-coriander chutney, or aam ka chunda.
- A side of fresh homemade curd sprinkled with roasted cumin powder.
- Comforting jeera aloo and boondi raita for a balanced meal.
Looking for more chilla variations? Try forever favourite Besan Ka Chilla, easy to digest Moong Dal Chilla, or the wholesome Oats Chilla.
follow us on Youtube and Instagram for video recipes.
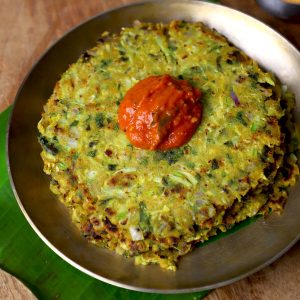
Lauki Jowar Thalipeeth Recipe
- Tawa/Griddle
Ingredients
- 1 ½ Cup Sorghum flour (jowar atta)
- 1 Cup grated bottle gourd (lauki)
- ½ Cup chopped moringa leaves
- ¼ Cup grated tofu
- 1 small onion, finely chopped
- ½ teaspoon carom seeds (ajwain)
- ½ teaspoon cumin powder (jeera powder)
- ½ teaspoon red chilli powder
- ½ teaspoon salt or to taste
- ¼ teaspoon turmeric powder
- Handful of coriander leaves, chopped
- oil to cook the thalipeeth
Instructions
- Grate the bottle gourd using the fine side of your grater. Do not squeeze out the water from the grated lauki—that water is packed with nutrients and will help form our batter!
- In a large mixing bowl, combine the jowar flour, carom seeds, cumin powder, turmeric, hing, and salt.
- Fold in the grated bottle gourd, chopped moringa leaves, onions, and coriander. Mix well. Use your hands to mix everything well, squeezing the onions and carrots slightly so they release their natural moisture. The liquid from the bottle gourd will start to wet the flour. Do not add water.
- Grease a piece of parchment paper, butter paper, or a clean banana leaf with oil. Pat the dough ball into a thin circle on the paper.
- Heat your tawa on medium-high. Carefully lift the paper/leaf, flip it over onto the hot tawa (dough side down), and gently peel the paper away. Cover and cook both sides with oil or ghee until crisp and golden.
- Gently flip the chilla using a spatula. Press down lightly and cook the other side for another 1-2 minutes until beautifully golden spots appear.
- Serve jowar ka chilla warm with chutney, pickle, or raita.
Recipe Notes:
- Do not use water to bind the dough. The moisture from the vegetables is good enough to bring it all together. If required, add 1 – 2 tablespoons of water to start with.
- While cooking on tawa/griddle, do not flip the thalipeeth again and again, once crisp from one side, flip and cook from the other.
- To shape thalipeeth, you can use butter paper, parchment paper, or banana leaf.


Leave Your Rating & Comment